Interface Guide
Learn to navigate the Fuser workspace efficiently. This guide covers all the essential interface elements, panels, and productivity features that will help you master your workflow.
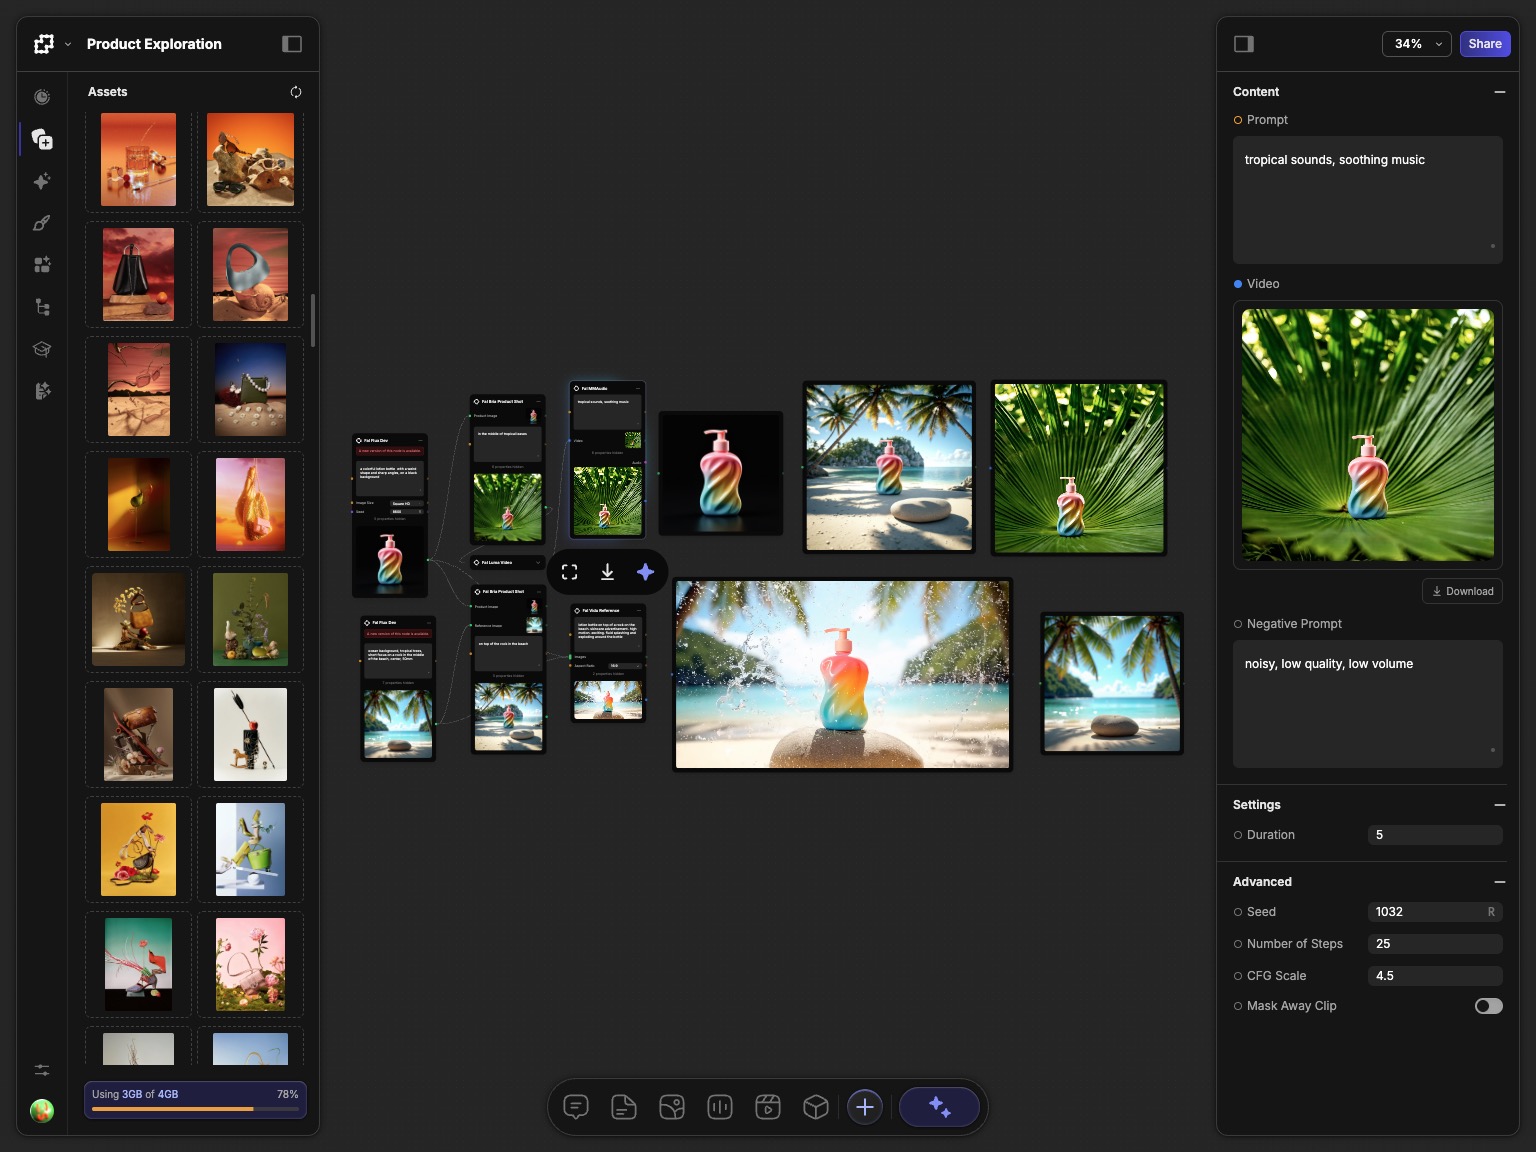
Main Layout
Fuser's interface is designed around a central infinite canvas, with three primary components:
- Left Sidebar: Your content hub, containing all your assets, pre-built components, and learning resources.
- Right Sidebar: Context-aware panels that appear when you select a node.
- Toolbar: The main toolbar at the bottom of the canvas for creating nodes and controlling your workflow.
You can easily toggle the left and right sidebars by clicking the button on the top left/right of the canvas. Additionally you can use the ⌘/Ctrl+[ to toggle the left sidebar, and ⌘/Ctrl+] to toggle the right sidebar.
Tooltips
Fuser has a built-in tooltip system that appears when you hover over certain elements. This is a great way to get quick information about the element you are hovering over. Any time you are unsure about what a certain functionality or UI element does, you can simply hover over the element to see a tooltip with more information. When available, the tooltips will also show you the shortcut associated with the element and function.
Left Sidebar
The left sidebar is your content hub, containing all your assets, pre-built components, and learning resources. You can also monitor your resource usage here, and have the ability to rename your project.
You can rename your project by double-clicking the project name in the header and typing a new name.
Recent
The Recent tab shows your most recent projects. You can quickly jump to a project by clicking on it, or create a new project by clicking the button on the top right of the tab.
Assets
The Assets tab shows your personal library of uploaded media (images, videos, audio, 3D models, etc.) To upload media, simply drag and drop files into canvas and they will be added to your Assets library. You can also add content from the Assets library to your canvas by dragging and dropping them onto the canvas. To learn more about importing data and managing your assets, see the Working with Media guide.
Generations
The Generations tab shows a complete history of all multimedia content generated by AI nodes. Every time you execute a node, a new generation will be added to this tab. You can also download the generated content by clicking the download button after selecting generations. The downloaded content will be saved as a zip file to your computer. Learn more about managing your generations by reading the Working with Media guide.
Styles
The Styles tab shows your library of custom AI training styles. In addition to your own styles, you can also browse and use styles from the community. Every style comes with a master prompt that can be copied by clicking the button and selecting "Copy Prompt". To create a new style, click the Create a Style button and follow the prompts. To learn more about styles, see the Style Training guide.
Templates
The Templates tab shows pre-built workflows created by the community to help you get started quickly. You can also create your own templates by clicking the Share button on the top right of the canvas, and enabling the Allow Remixing option. To learn more about templates, see the Templates guide.
Nodes
The Nodes tab shows an outline of all nodes currently used in your project. You can quickly jump between nodes or select them, by directly interacting with the outline.
Learn
The Learn tab gives you access to the Fuser documentation and tutorials. By clicking on each section, you add a custom Tutorial Node to your canvas. This interactive tutorial will guide you through the process of learning about Fuser and the features it offers.
Settings
The Settings button will open a popup with a few options to customize your Fuser experience, including the ability to change your profile details, manage your API keys, billing, and adjust your editor settings.
Right Sidebar
The right sidebar is a context-aware panel. This means that it will show different panels depending on the node you have selected or based on the action you are performing.
Node Properties
The Properties panel shows you all the settings for the selected node. You can configure all settings for the selected node, such as choosing an AI model, adjusting parameters, or entering text.
Chat
Some nodes such as LLMs, Image Generators, and Video Generators have a chat interface. This allows you to interact directly with the model and view the conversation history. You can type your message in the input field and press enter to send it.
Share
The Share panel allows you to share your workflow with the public by generating sharing links. You can also share your workflow with others by clicking the Share button on the top right of the canvas, and enabling the Allow Remixing option. When enabled, your workflow will be added to the Templates tab, and other users will be able to remix it.
Additionally you can adjust the details of your workflow, such as the name, description, and social thumbnail. Doing so will ensure that your workflow appears professionally on social media platforms and is discoverable by others.
Style Training
The Style Training panel allows you to train a new style for your nodes. You can upload reference images and select the type of style you want to train. To learn more about styles, see the Style Training guide.
Toolbar
Fuser's toolbar is located at the bottom of the canvas. It is a one stop shop for quickly adding nodes, searching for all available nodes, and executing your workflow.
Adding Nodes
There are a few ways to add nodes to your canvas:
- Click any of the primary icons to add that node to the center of the canvas.
- Click and drag on any of the primary icons to you canvas to add have precise control over the position of the node.
Command Bar
The command bar shows you a complete list of all available nodes. It is the fastest way to add and search for nodes. Open it by clicking the button or pressing Shift+A on your keyboard.
You can search for nodes by:
- Type:
text,image,video,audio,mesh,style - Provider:
openai,anthropic,fal - Function:
chat,generate,upscale
The command bar uses fuzzy search to find nodes. This means that you can search for nodes by typing in a partial name, and the command bar will find the closest matching node.
Execution Controls
When an executable node is selected, the toolbar will give you the ability to quickly execute the node and monitor its progress by simply clicking the button.
Errors and Notifications
Fuser has a robust error and warning system that will notify you of any issues that occur in your workflow. These will appear in the bottom center of the canvas, and include the reason for the error or warning.
If multiple errors occur, they will be stacked on top of each other. Hover over the stack to expand it and see the full error messages.
The Canvas
Fuser's canvas gives you unlimited space to build, experiment, and organize your workflows. Think of it as a boundless whiteboard where you build, organize, and bring your ideas to life.
- Navigation: Pan by clicking and dragging on empty space. Zoom with your mouse wheel or trackpad.
- Selection: Click a node to select it. Drag a box to select multiple nodes.
- Node Operations: Add nodes from the toolbar or command bar, connect them by dragging from their sockets, and move them around to organize your flow.
This documentation has a dedicated section on the canvas, which you can find here. You can quickly jumpt to specific sections by clicking the links below:
Double-clickan empty space to fit your entire workflow to the view.Double-clicka node to zoom in and focus on it.
Essential Shortcuts
Mastering shortcuts will dramatically speed up your work.
Shift+A: Open the node search command bar.⌘/Ctrl+[/]: Toggle the left/right sidebar.⌘/Ctrl+C/V: Copy and paste selected nodes.⌘/Ctrl+Z: Undo last action.DeleteorBackspace: Delete selected nodes or connections.⌘/Ctrl+0: Fit canvas to view all nodes.
You can resize the left and right sidebars by hover over the outer edge of the sidebar and drag it to the left or right. To reset the size, simply double-click the outer edge of the sidebar.
What's Next?
Now that you're familiar with the interface, you're ready to dive deeper.
- Canvas & Navigation - Master movement and selection on the canvas.
- Importing Data - Learn how to add media to your Assets library.
- Building Flows - Start connecting nodes to create workflows.
- Templates - Explore pre-built workflows.