Tools library
Every tool you build is saved automatically. Find it in the Library panel, place it in any project, and archive what you no longer need.
Build a tool once and reuse it everywhere. Each successful build and edit is saved to your Tools library automatically; there's no save button.
Open the library
Click Library in the left sidebar, then choose the Tools tab. It has two views:
- My Tools — every tool you can use, newest first.
- Archived — tools that have been archived.
Each card shows the tool's name, a Live or Cloud badge, and its version, such as v2. Hover a card to see the request the tool was first built from.
Who sees your tools
The library follows the workspace of the project you have open, like recipes.
| Workspace | Who sees its tools |
|---|---|
| Your personal workspace | Only you. |
| A team workspace | Everyone in the workspace, including tools teammates build. |
A tool built in a team project is saved to that team's library, not your personal one.
Place a tool
- Click a card to place the tool in the middle of your view. The panel closes so you can start wiring.
- Drag a card onto the canvas to place it where you drop it.
The placed tool is ready right away, with the same inputs and controls as when it was built. Wire in an input and a Live tool runs immediately.
Versions
When you edit a tool, the new version appears as its own card, numbered one higher, such as v2 next to v1. Both stay in the library, so you can place whichever you need.
Archive and restore
Hover a card and click Archive tool, then confirm with Archive. The tool moves to Archived.
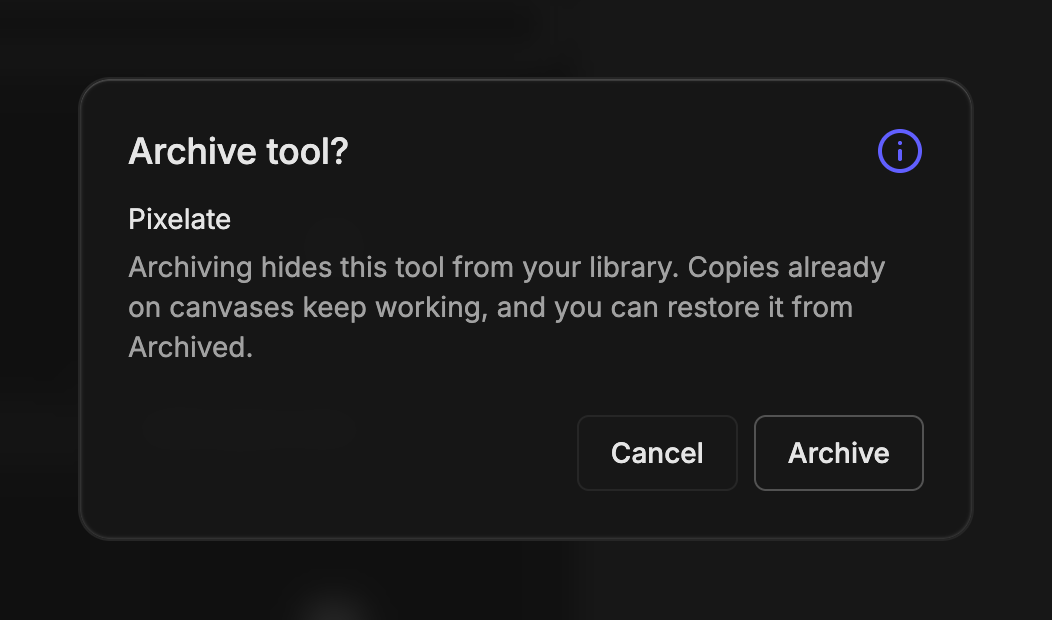
Archiving only hides the tool from the library. Copies already on your canvases keep working.
To bring it back, open Archived and click the card, or hover it and click Restore tool .
Archiving in a team workspace
Archiving a team tool hides it for everyone in the workspace. The person who built it, or a workspace owner or admin, can archive and restore it.