Creating a recipe
Turn a working selection into a reusable recipe, choose its controls, and try it before sharing.
Turn a working flow into one recipe node with the inputs and outputs you choose.
This Botanical Campaign example combines a Text node and Gemini Image with Nano Banana 2. The recipe takes a creative brief and returns an image.
From flow to recipe
Build and run the flow
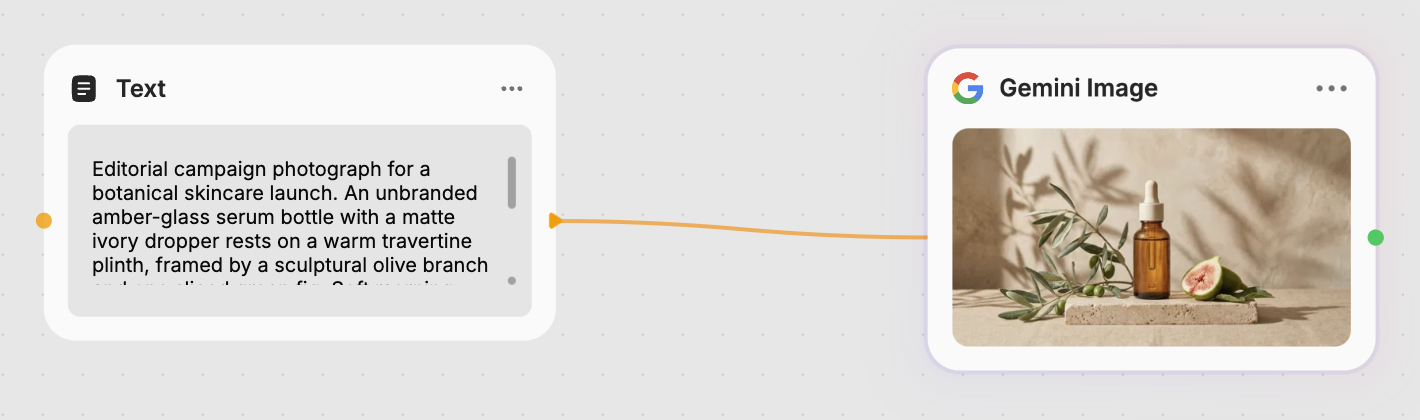
Connect a Text node to the prompt input of a Gemini Image node. Choose Nano Banana 2 and write a brief describing the subject, setting, lighting, and composition you want.
Try “A botanical skincare campaign with an amber glass bottle, fresh leaves, soft daylight, and space for a headline.” Run and refine the flow.
Before: the brief and image generation are separate, connected nodes.
Convert your selection
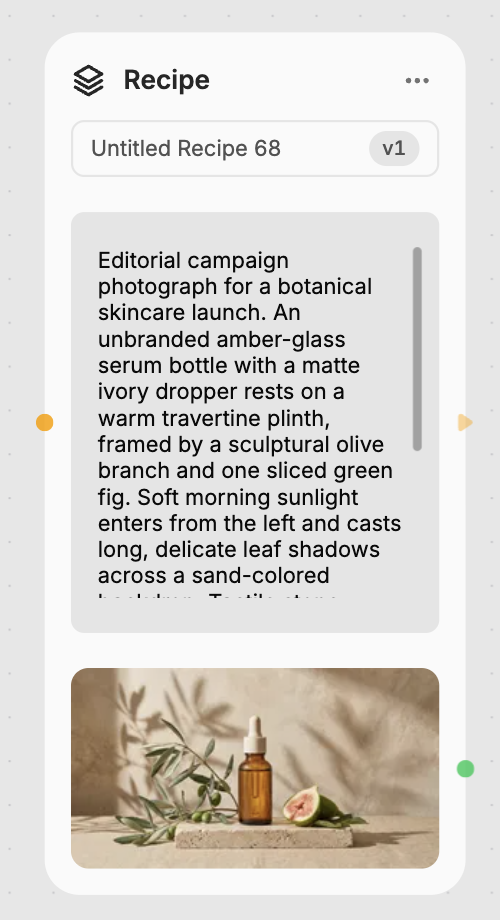
Select the Text and Gemini Image nodes, then click Create recipe from selection in the selection toolbar. Fuser replaces them with one recipe node and keeps any connections to the surrounding flow.
After: one recipe node keeps your brief and existing image result. It starts unpublished, ready to name and configure.
Check the inputs and outputs
Click Open recipe, or select the recipe node and press E. The internal
flow opens with Input and Output nodes, and the
Recipes panel appears on the right.
Check the brief under Inputs and the image under Outputs. Expand each row to add a clear name and description, such as “Creative brief.”
Describe, preview, and save
Add a Name and Description explaining the result and what to include in the brief. Click Preview recipe, adjust the controls, and Execute. Use Save changes when you're happy with it; publish later when you're ready to share.
What Fuser exposes for you
Fuser keeps your nodes and connections inside the recipe, adding controls where the process begins and ends.
| Part of your selection | What becomes available on the recipe |
|---|---|
| A connection entering from an unselected node | An input, with the external connection preserved. |
| Starting content or an authored prompt that feeds the flow | An input you can change when running the recipe. |
| A result at the end of the flow | An output. |
| A connection leaving for an unselected node | An output, still connected to the next node. |
Here, the brief becomes an input and the image an output. Other model settings stay inside until you expose them.
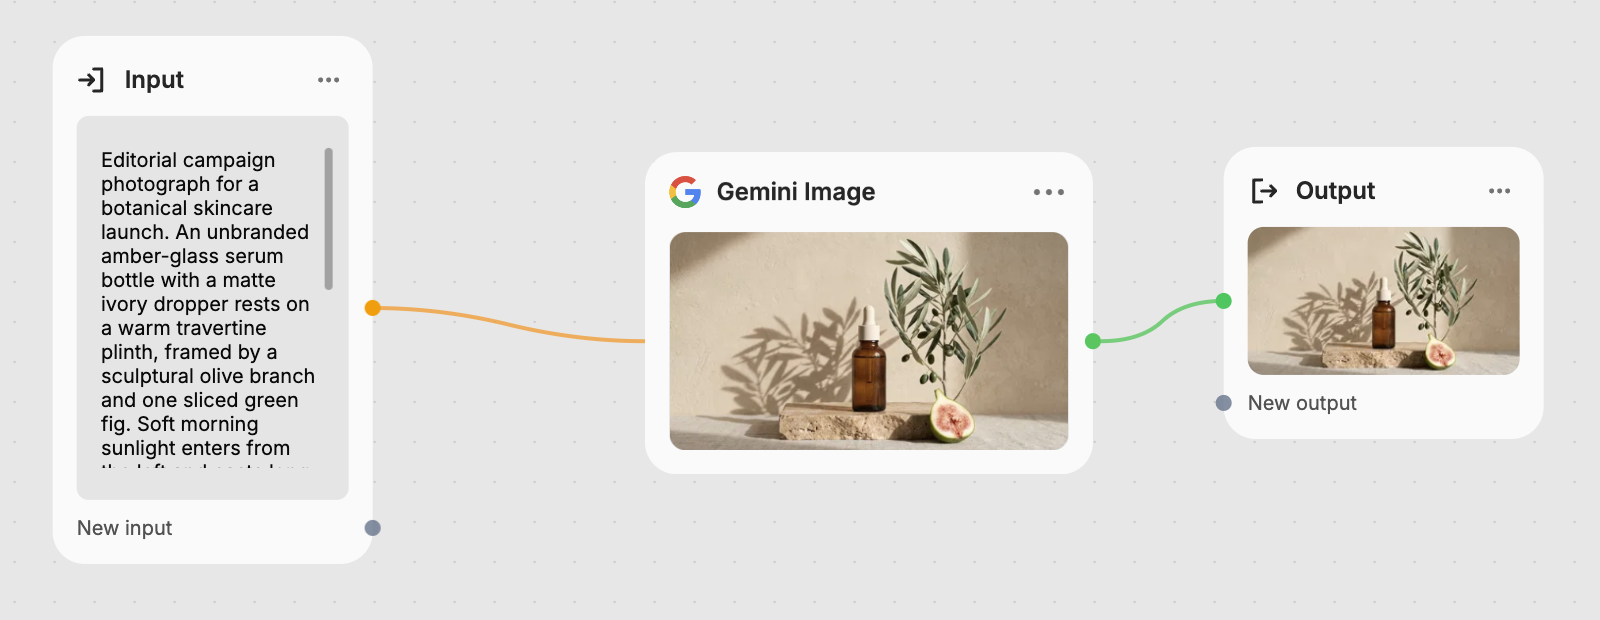
To add a control, drag from New input on Input to the input you want people to change. To add a result, connect an internal output to New output on Output. See Inputs and outputs for ordering controls, optional inputs, and refining the interface.
Make it easy to recognize
Use Populate to suggest a name, description, categories, tags, and control descriptions. Review them for accuracy.
An existing image or video result can supply the Thumbnail. Use Upload media or Replace to choose another. Add Categories and Tags so people can find the recipe when you publish it.
See Publishing and versions for the publishing checklist and how updates reach placed recipes.
Choosing what to include
Select at least two content nodes, including a node that runs a model, chat, or tool. You can also select a group containing those nodes. App nodes can't be included in a recipe.
Recipes can contain other recipes. To build a reusable part, create it on your project canvas first, then add it from the Recipes library inside another recipe. Create recipe from selection is unavailable while you're inside a recipe.
Creative Code results
If your recipe returns a Creative Code output, that must be its only output.