Understanding Nodes
How nodes power Fuser flows.
Nodes are the fundamental building blocks of Fuser. Every piece of functionality, from storing text to generating images, and interacting with AI models is represented as a node.
Node Types
Fuser uses two main categories of nodes that work together to create powerful workflows. Primitive nodes are the building blocks of your workflows, and executable nodes are the AI operations that transform your data.
Primitive Nodes
Primitive nodes store and display content. They're your starting points and endpoints, containing the data that will be processed by the executable nodes.
Text Node
- Purpose: Store text, prompts, and string data
- Use cases: AI prompts, captions, notes, instructions
- Features: Multi-line editing, copy/paste, search
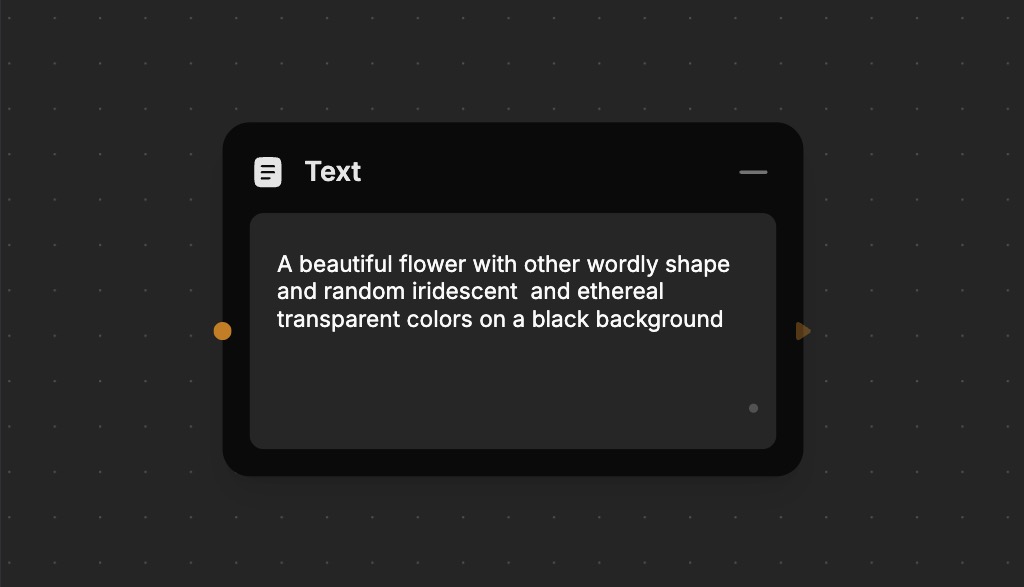
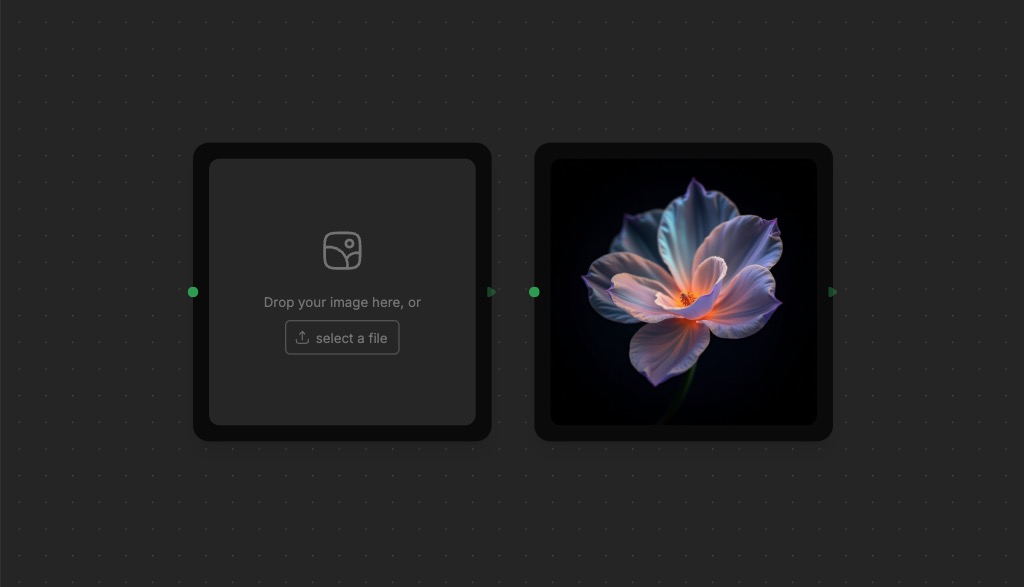
Image Node
- Purpose: Display and store images
- Supported formats: PNG, JPG, WebP, GIF
- Features: Upload, drag & drop, download, copy/paste
- Size limit: 50MB per image
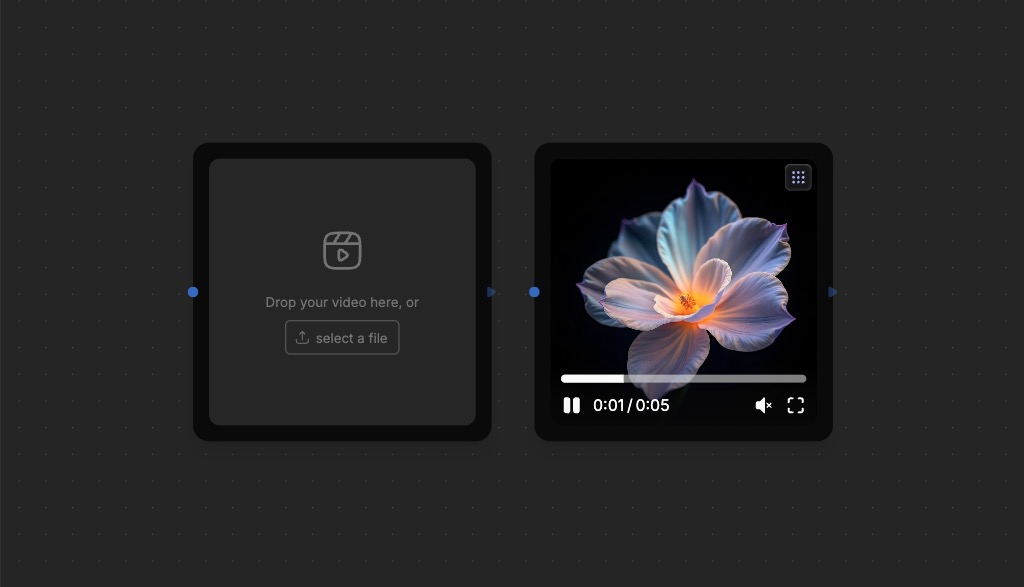
Video Node
- Purpose: Handle and view video content
- Supported formats: MP4, WebM
- Features: Playback controls, thumbnails, download
- Size limit: 50MB per video
Audio Node
- Purpose: Work with audio files
- Supported formats: MP3, WAV
- Features: Playback controls, waveform display
- Size limit: 50MB per file

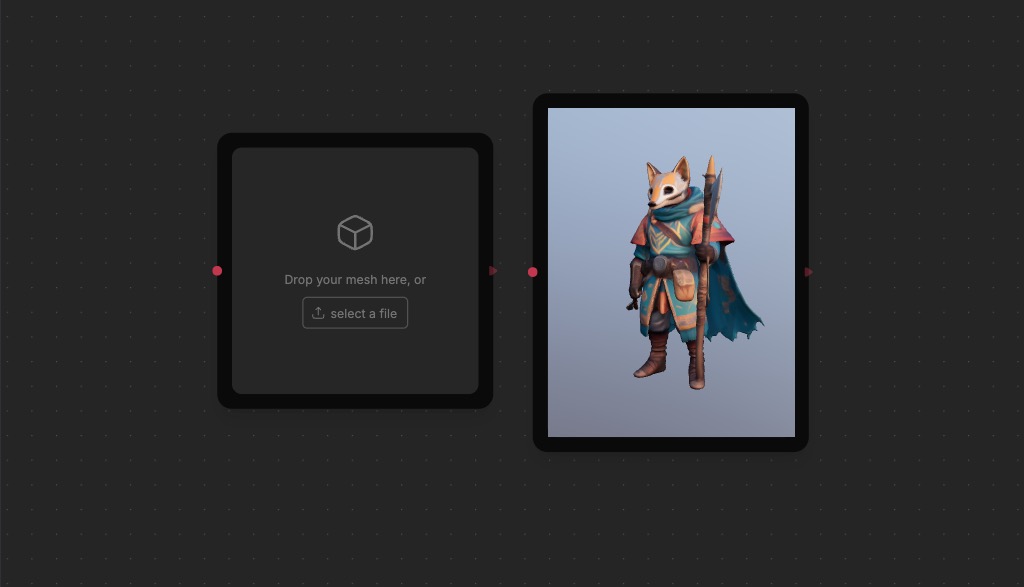
Mesh Node
- Purpose: 3D objects and models
- Supported formats: GLB, GLTF
- Features: 3D viewer, rotation, zoom
- Size limit: 50MB per model
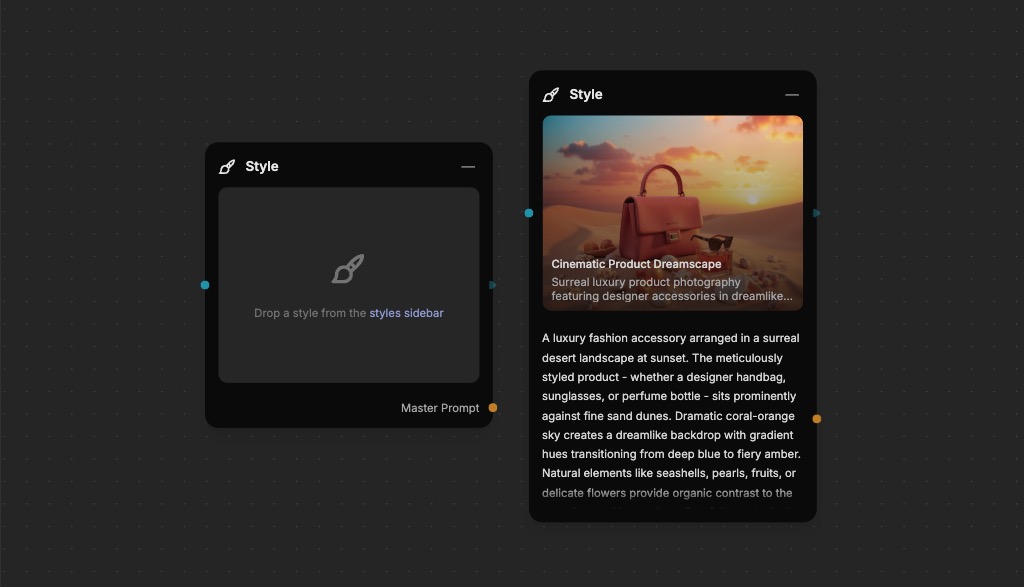
Style Node
- Purpose: Store and apply AI training styles (Flux Dev LoRAs)
- Use cases: Consistent visual styles, custom AI training
- Features: Style preview, master prompt
Executable Nodes
Executable nodes perform AI operations and transformations. They take inputs, process them, and produce the desired outputs.
Chat Models (LLMs)
Large Language Models are powerful AI systems that excel at understanding and generating human language. They can engage in natural conversations, analyze text and images, write content, and solve complex problems. These models are particularly useful for content creation, data analysis, coding assistance, and general problem-solving tasks. They can understand context, follow instructions, and generate coherent responses across a wide range of topics and applications.
Image Generation
Image generation nodes create visual content from text descriptions or existing images. They can produce high-quality, artistic images with various styles, from photorealistic to artistic interpretations. These tools are particularly useful for creating illustrations, concept art, product visualizations, and marketing materials. They can also handle specialized tasks like text-to-image generation, style transfer, and background manipulation, making them valuable for creative professionals and content creators.
Pro Tip: For Video and 3D, Start with an Image!
Most video models and all 3D models support generating outputs based on reference images. It's often a good idea to start with an image instead of trying different text prompts. This approach allows you to lock-in the style and content using images which are often:
- Easier to describe: Image models are better at understanding and generating images from text descriptions.
- Faster to generate: Image models can generate images much faster than video or 3D models.
- Cheaper to run: Image models are many times cheaper to run than video or 3D models.
Once you have your image reference ready, you can use it as a starting point for the video or 3D model.
Video Generation
Video generation capabilities allow users to create dynamic visual content from text descriptions or static images. These tools can generate short video clips with controlled motion, camera movements, and visual effects. They're particularly useful for creating product demonstrations, social media content, and creative visual storytelling. The technology can handle various styles and effects, making it valuable for marketing, entertainment, and educational content creation.
Audio Generation
Audio generation nodes create and manipulate sound content, including speech, music, and sound effects. They can generate natural-sounding speech in multiple languages, create original music compositions, and process existing audio to enhance quality or convert formats. These capabilities are valuable for creating podcasts, video narration, background music, and audio content for various media projects. The technology can also handle speech-to-text conversion and audio enhancement tasks.
3D Generation
3D generation tools create and manipulate three-dimensional models and scenes. They can generate 3D objects from text descriptions and images, create detailed models for product visualization, and design architectural spaces. These capabilities are particularly useful for product design, architectural visualization, game development, and virtual reality applications. The technology enables the creation of complex 3D structures with realistic textures and lighting.
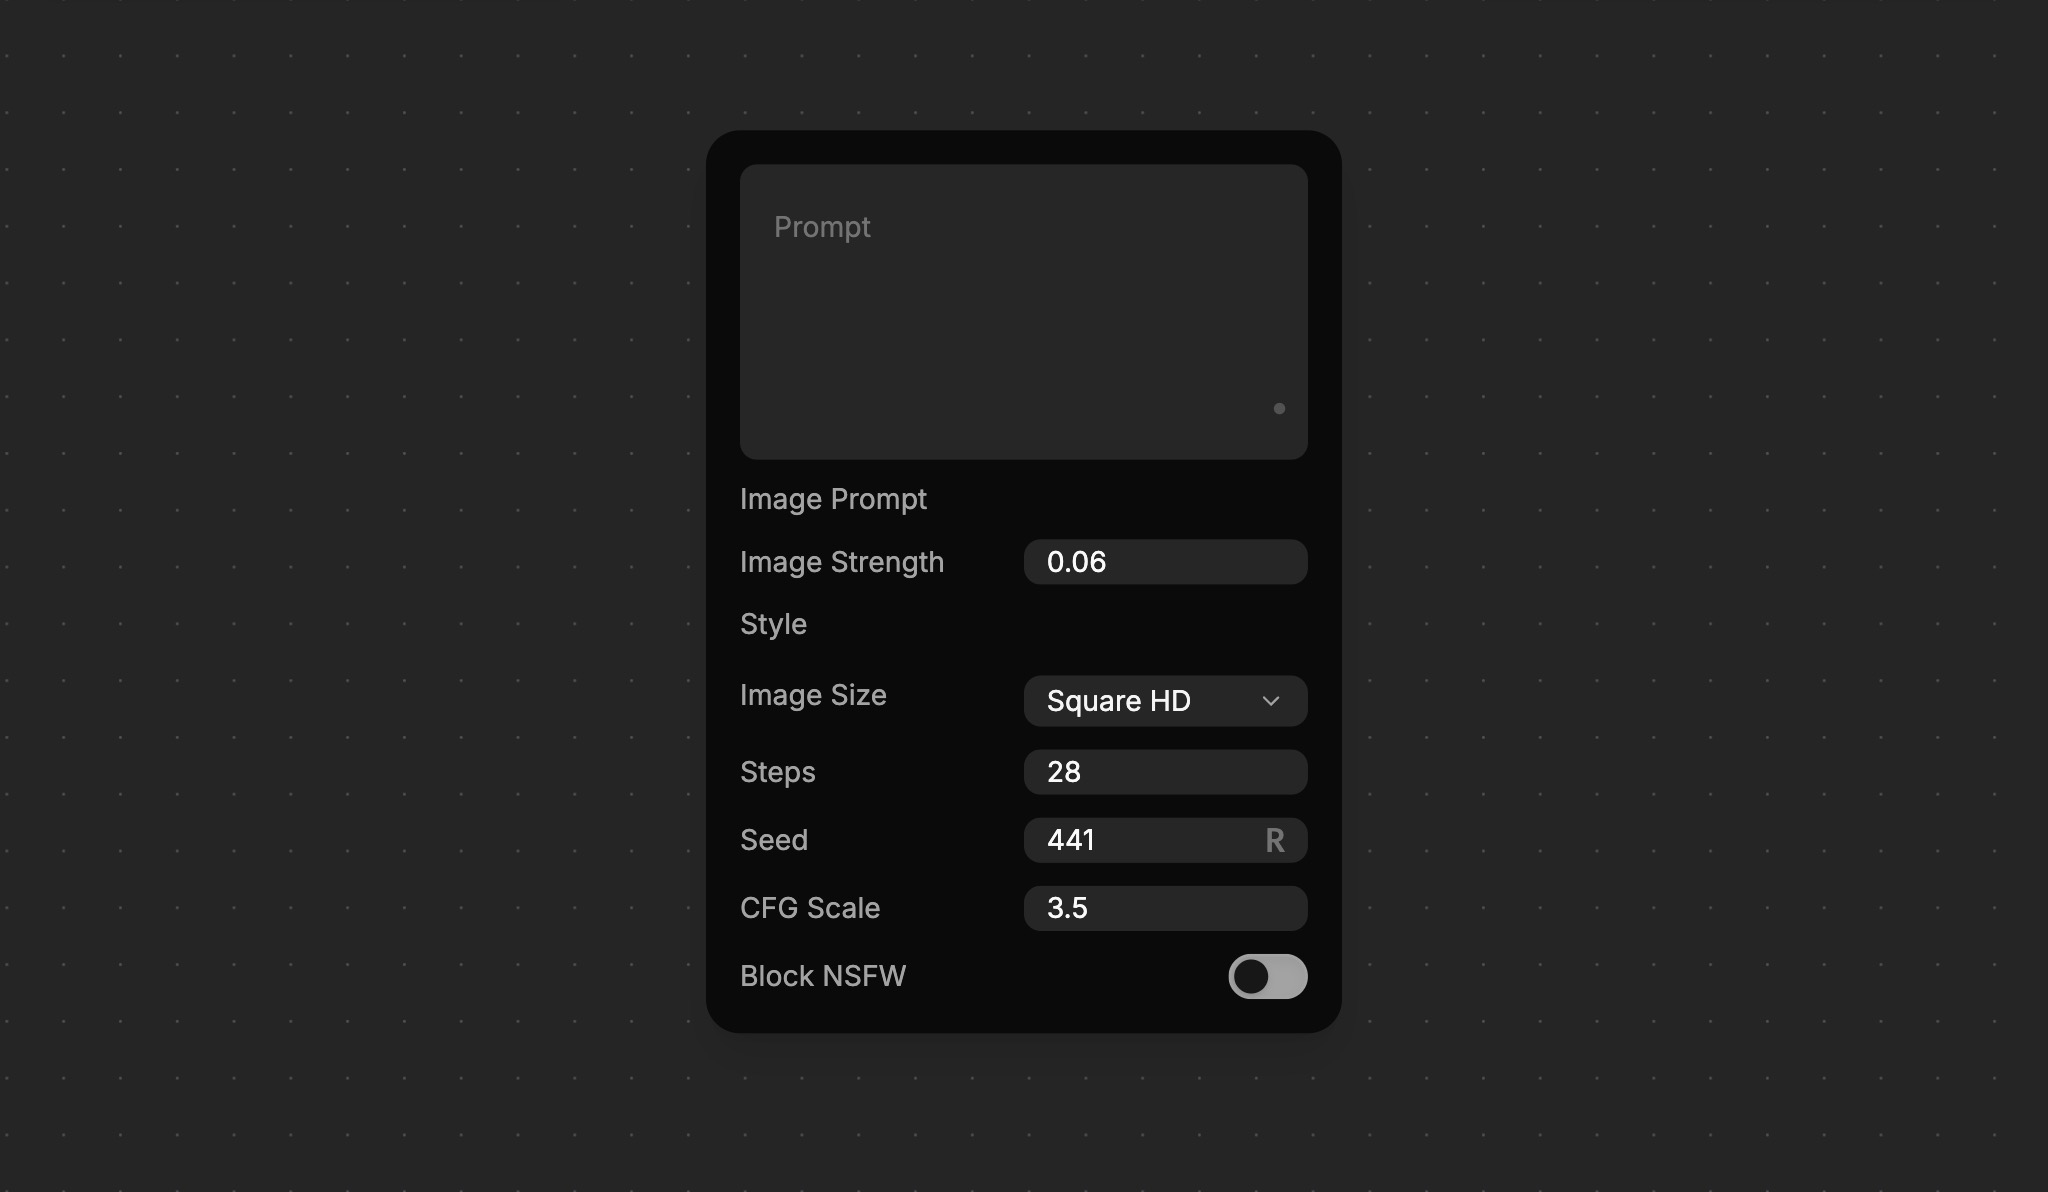
Node Properties
Every node has one or more Properties that control the node's behavior and provide the necessary data for a node to function. These include model selection to choose which AI model to use, aspect ratio for image generation, duration for videos, and other parameters that are specific to the node.
Toggle Property Visibility on the Canvas
To reduce visual clutter, some properties are hidden on the canvas by default. Open the Properties overlay from the right side of the canvas (or press Shift+P) with the node selected. Click the small circle icon in each property's header to toggle whether that property is visible on the canvas itself.
Node Anatomy
Every node shares common elements:
- Header: Shows the provider icon and node title, allowing you to rename, minimize, and expand the node. Also provides a context menu for granular control.
- Properties: Control the node's behavior and provide the necessary data for a node to function. By default, some properties are hidden on the canvas.
- Sockets: Property connection points located on the left and right sides of the node. You can connect sockets by dragging and dropping from one socket to another.
- Node Toolbar: A row of context-aware actions that appears below the node when it's selected — zoom, download, focus, annotate, and (on touch) delete.
Node Renaming
You can rename the node by double-clicking on the title and typing a new title.
Selected Node
When a node is selected, it shows a highlighted border and a soft glow. It also becomes available for actions such as copy, delete, etc.
Node Toolbar
Selected nodes display a Node Toolbar below their main content. The toolbar provides context-aware actions that depend on the node type and your current view:
- Zoom to node — center and zoom the canvas on the node.
- Download media — save the node's current output. Visible only when the node has image / video / audio / mesh output (or is explicitly downloadable), you can edit the project, and you're not in a public view.
- Enter focus — open the node in Focus mode. Visible on nodes that support focus.
- Add annotation / Edit annotation — attach a freeform text note to the node.
- Delete node — only shown on touch devices. On desktop, press Delete instead.
The Node Toolbar is hidden in public views so visitors can't trigger downloads or modifications. Two related controls live elsewhere:
- The Properties panel is the right-side overlay (toggle with Shift+P), not a toolbar button.
- The Chat overlay opens from the node body itself — see Chat overlay.
- Execute lives in the bottom-of-canvas toolbar, or use Cmd/Ctrl+Enter with the node selected.
Resizing Nodes
You can resize nodes by hovering over the left and right side of the node. When the edge is highlighted, you can click and drag to resize the node.
Node States
Nodes have different visuals indicators, depending on the state they are currently in.
Idle State
- Appearance: Normal border, no special indicators
- Meaning: Ready to execute, waiting for input or trigger
Selected State
- Appearance: Highlighted border, indigo accent glow
- Meaning: Node is selected
Executing State
- Appearance: Animated border with a pulsating glow indicating progress
- Meaning: Currently processing, AI model working
- Duration: Varies by model and complexity
Chat overlay
Executable nodes that take prompts (LLMs, image generators, video generators) expose a per-node Chat overlay. Open it from the Chat button in the Node Toolbar.
The overlay shows the conversation with that specific node — every prompt you've sent and every output the node has produced. Submitting a new prompt from the overlay re-executes the node with the new input. The history is per-node, not per-flow, so each generator carries its own conversation.
Node Carousel
Executable nodes keep a history of their outputs. The Node Carousel is the strip of past outputs visible on the node when more than one exists. Click an entry to make it the current output; the rest of your flow re-runs against the new selection.
Use the carousel to compare alternative generations without re-prompting, or to roll back to an earlier output that worked better. For a fullscreen view of any output with prompt-side iteration, see Focus mode.
Adding Nodes
Command Bar: Press Shift+A or click in toolbar
- Search by name:
text,image,video,audio,mesh,style - Search by provider:
openai,anthropic,fal - Search by capability:
chat,generate,video
Quick Connect: Click and drag from a socket to empty space, then release the mouse button. The Quick Connect menu will open.
- Shows compatible nodes automatically
- Filters by data type compatibility
- Suggests best matches first
Toolbar: Click node buttons for common nodes, or drag and drop the icon from the toolbar to the canvas.
Configuring Nodes
Nodes can be configured directly on the canvas or in the node properties panel. Here are some of the most common ways to configure nodes:
- API Keys: Most executable nodes need provider credentials
- Model Selection: Choose appropriate AI model for your task
- Parameters: Adjust settings for desired output quality
- Node Names: Rename for better organization
- Display Options: Minimize/expand content areas
Node Execution
With the exception of primitive nodes, all nodes can be executed at any time. Select a node and either press Cmd/Ctrl+Enter, or click the Execute button in the bottom canvas toolbar.
When executing a node, all connected dependencies will be processed in order from left to right. The node will then enter the Executing state and the progress will be shown visually.
Advanced Node Features
Collapsible Nodes
- Minimize: Reduce visual clutter in complex workflows
- Header-only view: See connections without content
- Expand: Show full content when needed
Copy and Paste
- Duplicate nodes: Select node(s), press
⌘/Ctrl+C, press⌘/Ctrl+Vto paste - Cross-workflow: Copy between different projects
- With connections: Maintains relationships when possible
Node Templates
- Save configurations: Reuse common node setups
- Share with team: Standardize workflow components
- Community templates: Access shared configurations
Best Practices
When working with nodes, here are some best practices to follow to make your workflows more efficient and maintainable:
- Organization: Name nodes for better understanding and maintainability, using clear, descriptive names. Place related nodes together, and maintain a consistent and readable flow direction.
- Performance: Minimize unnecessary executions, and choose appropriate quality/speed balance. Monitor API usage and costs to stay on top of resource usage.
- Workflow Design: Create reusable node groups, and plan for execution failures. Validate each step before building complex flows.
Troubleshooting Nodes
AI models are powerful, but they can sometimes produce unexpected results. When working with nodes, you may encounter some common issues. Here are some tips to help you troubleshoot and fix them:
Node Won't Execute
- Check API Keys: Ensure all required provider keys are configured correctly in settings.
- Check Inputs: Make sure all required input sockets are connected.
- Check Provider Balance: Ensure provider account has sufficient credits.
Unexpected Results
- Inspect Intermediate Outputs: Click on each node in the chain to see what the data looks like at that step. This can help you pinpoint where things went wrong.
- Use Image References: For video and 3D models, use image references to lock in the style and content. This will prodice predictable results compared to text only approaches.
- Check Node Parameters: Review the settings in the properties panel for each node. A misconfigured parameter is a common cause of issues.
- Prompt Engineering: Check for prompt engineering issues. A good prompt is the foundation of a good result.
- Test in Isolation: Disconnect a problematic node and test it with a simple, direct input to see if it behaves as expected.
Performance Problems
- Faster/Cheaper Models: Use faster, cheaper models during development.
- Optimize Data: Use smaller media files to test and optimize.
Node Selection Tips
- Different AI models excel at different tasks, so choose the right model for the job
- Start with default settings, then optimize
- Test with small inputs before scaling up
- Keep frequently used nodes easily accessible
What's Next?
Now that you understand nodes:
- Sockets & Connections - Learn how nodes communicate
- Building Flows - Combine nodes into workflows
- AI Providers - Explore available AI services
- Working with Media - Handle different content types