Working with Media
Bring images, video, audio, and meshes into your flows.
Learn how to import, manage, and optimize media in Fuser. This guide covers everything from uploading files to preparing them for powerful AI workflows.
Supported Media Types
Fuser is a multi-modal canvas that supports a wide range of formats.
-
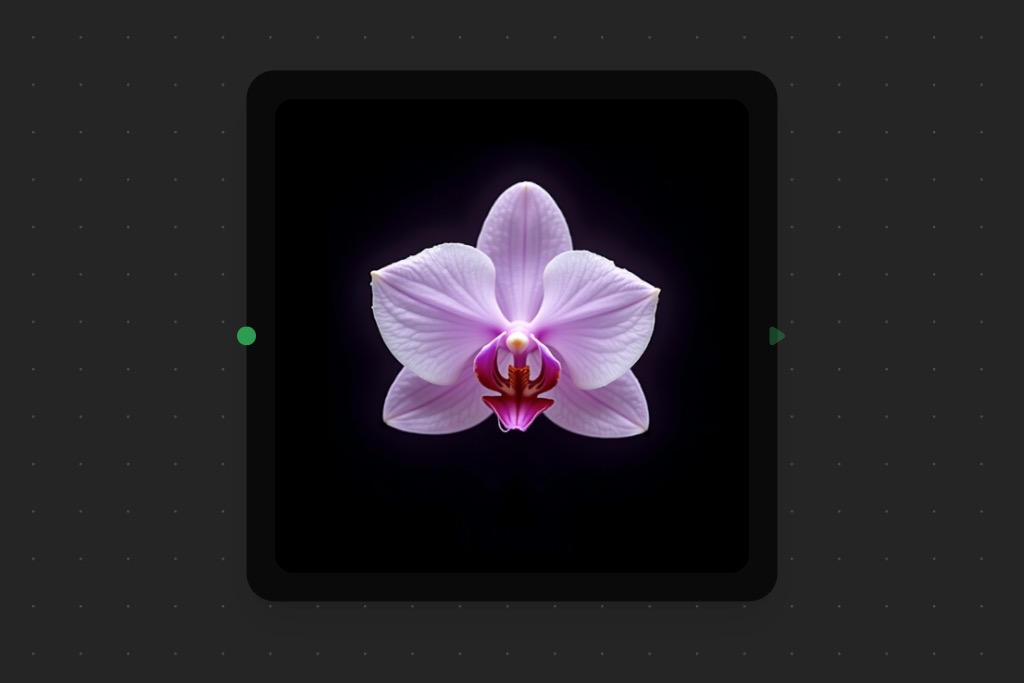
Images: Display and store images - Supported formats:
PNG,JPG,WebP,GIF- Features: Upload, drag & drop, download, copy/paste -
Videos: Handle and view video content - Supported formats:
MP4,WebM- Features: Playback controls, thumbnails, download -
Audio: Work with audio files - Supported formats:
MP3,WAV- Features: Playback controls, waveform display -
3D Models: View and interact with 3D objects - Supported formats:
GLB,GLTF- Features: 3D preview, download, copy/paste
File Size Limit
All media types have a file size limit of 50MB per file. See the Media Optimization section for tips on managing file sizes.
Importing Media
Fuser supports the three most familiar ways of bringing media in: drag-and-drop, paste from clipboard, and file-browser upload. Pick the one that fits your workflow.
The fastest way to add media.
- Drag from your computer directly onto the canvas to create the appropriate media node automatically.
- Drop onto an existing node to replace its content.
- Drop onto a property to upload the file to the property.
Quickly import media you've copied from other applications. Copy from your system's file browser, another website, or any application — then paste into the canvas with ⌘/Ctrl+V.
Copy Images from Websites
To copy images from other websites, right-click on the image and select Copy Image.
Copy Text
You can copy plain text from any application and paste it into a text node or property on the canvas. Pasting plain text onto an empty area of the canvas creates a text node automatically.
For a more traditional approach, Primitive Nodes and Media Properties open your system's file browser. Click select a file in an empty node or property to pick a file.
Duplicating Media
Fuser is a media-heavy application, and you will often want to duplicate content to use in multiple places, or to add visual hierarchy to your canvas by resizing and repositioning nodes.
We've tried to make this process as intuitive and seamless as possible, allowing you to easily copy-paste and drag-and-drop media across nodes, properties, and asset management panels.
Available for All Media
The following methods of duplication are available for all media types, including images, videos, audio, and 3D models.
Drag and Drop Duplication
To duplicate a piece of media, simply hover over the piece of content you want to duplicate. The duplicate button, indicated by , will appear on the top right of the media viewer. Click and drag the duplicate button to the desired location on the canvas, or drop it onto an existing media viewer or property to replace the media.
Copy and Paste Duplication
To duplicate a piece of media using copy and paste, first click on the media viewer to select it. A dashed purple outline will appear around the media viewer, indicating that it is selected and ready for operation. Press ⌘/Ctrl+C to copy the media. To duplicate the media, press ⌘/Ctrl+V on an empty area of the canvas. To replace the media in an existing node or property, first select the node or property so that the dashed purple outline appears, then press ⌘/Ctrl+V to paste the media.
Media Management
Located in the left sidebar, the Assets Library is your central media hub. It automatically organizes your uploaded content by type and provides a preview of each piece. From here, you can:
- Drag files onto the canvas.
- Upload with the Upload button at the top of the Assets panel for an explicit file picker. Both upload paths produce the same result.
- Download your original files as a zip.
- Delete unused media.
Advanced search
Beyond the free-text search at the top of the Assets panel, an Advanced search affordance lets you filter by media type and other facets, with auto-complete suggestions as you type. Use it when you have hundreds of assets and need to find a specific one fast.
Media Optimization
Optimizing your media is key to improving performance and reducing costs. Before uploading, consider:
- Optimizing file sizes: Smaller files lead to faster processing and lower costs.
- Choosing appropriate formats: Use
JPGfor photos andPNGfor graphics with transparency. - Naming files descriptively: Good names make your assets easier to manage.
Quality vs. Performance
There's often a trade-off between the quality of your media and the speed and quality of the AI output.
- For Iteration & Testing: Use smaller, lower-quality files for faster results. For example, generate images at a lower resolution while you're perfecting your prompt.
- For Final Output: Use high-quality files for the best results. This will also ensure that your AI models have the best possible input to work with.
Pro Tip: For Video and 3D, Start with an Image!
Most video models and all 3D models support generating outputs based on reference images. It's often a good idea to start with an image instead of trying different text prompts. This approach allows you to lock-in the style and content using images which are often:
- Easier to describe: Image models are better at understanding and generating images from text descriptions.
- Faster to generate: Image models can generate images much faster than video or 3D models.
- Cheaper to run: Image models are many times cheaper to run than video or 3D models.
Once you have your image reference ready, you can use it as a starting point for the video or 3D model.
Pre-computation is Key
For expensive operations (like video generation), it's a good practice to run the generation once, and then use the output from your Generations library for any downstream workflows. This avoids re-running costly steps.
Troubleshooting Common Issues
Supporting a wide range of media formats is a core feature of Fuser. However, there are some common issues that you may encounter when working with media. Here are some tips to help you troubleshoot and fix them:
Upload Problems
- File Won't Upload: Check that the file is under the 50MB limit and is a supported format. Also, check your internet connection.
- Slow Uploads: Try compressing files before uploading. Large files will naturally take longer.
Processing Issues
- AI Model Rejects File: The file format might be unsupported by the specific AI model, or the file could be corrupted. Try converting it to a different recommended format.
- Poor Quality Results: The quality of the output is often dependent on the quality of the input. Using higher-quality source media can significantly improve results.
What's Next?
Now that you know how to handle media, you can put it to use.
- Building Flows - Create workflows to process your media.
- Nodes Reference - Discover all the nodes you can use to work with your media.
- Styles & Training - Learn how to use your images to train custom AI styles.
- Sharing - Share your creations with others.