# Building a tool (https://docs.fuser.studio/docs/tools/creating)
Describe the tool you want in a sentence or two. Fuser designs its controls,
writes it, tests it in your browser, and then shows the finished node.
This **RGB split glitch** example takes an image and adds sliders for the
split amount and scan lines.
## From prompt to tool [#from-prompt-to-tool]
### Add a Tool node [#add-a-tool-node]
Open the **Nodes** panel (`Shift`+`A`), search for **Tool**, and place it
on the canvas. A new tool shows one **Prompt** box.
### Describe the tool [#describe-the-tool]
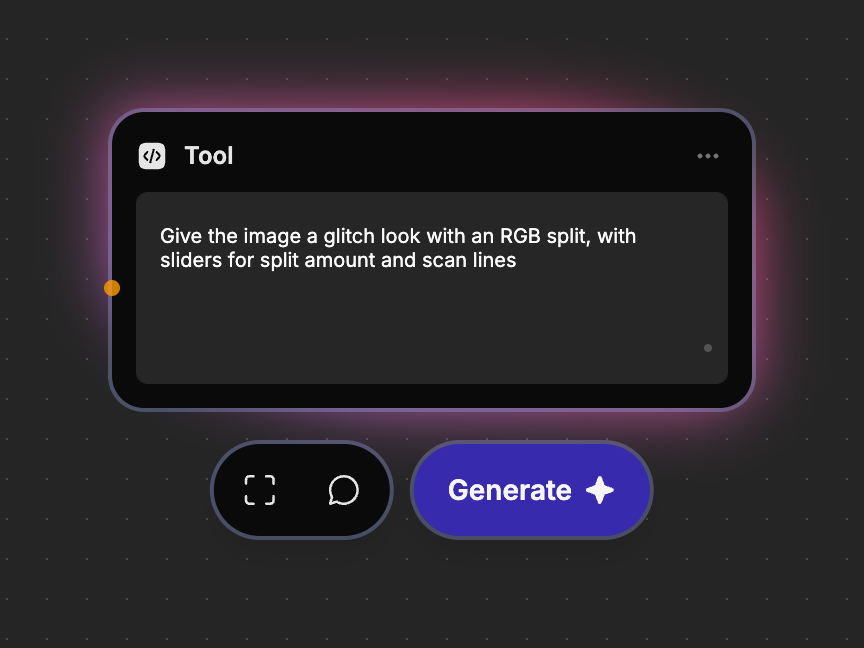
Type what it should do and what you want to adjust, for example
“Give the image a glitch look with an RGB split, with sliders for split
amount and scan lines.” You can also wire a Text node into **Prompt**.
### Generate [#generate]
Select the node and click **Generate**
in its toolbar,
or press `⌘/Ctrl`+`Enter`.
### Watch it build [#watch-it-build]
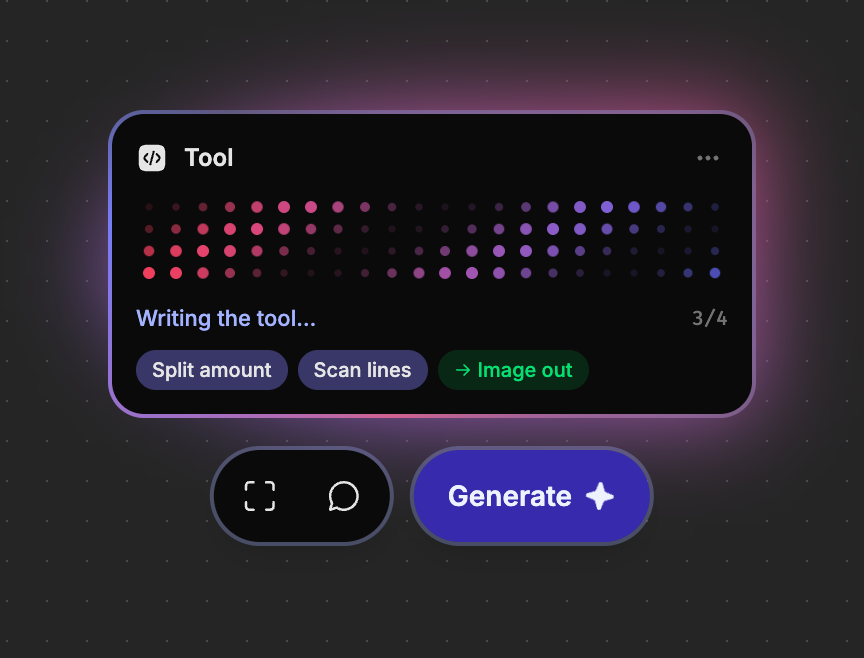
The node lights up and moves through four phases: **Reading your
prompt**, **Designing the controls**, **Writing the tool**, and **Testing
it in your browser**. The controls appear as small pills as they're
designed, followed by the kind of result, such as **Image out**.
### Use it [#use-it]
The node grows into the finished tool, with its inputs, controls, and
result. Wire in an image and drag a slider.
The build keeps going if you scroll the node off screen. Building or editing a
tool uses credits for the AI that writes it.
## Write a good prompt [#write-a-good-prompt]
* **Say what goes in and what comes out.** “Turn this transcript into
subtitles” tells Fuser to take text and return a subtitle file.
* **Name the controls you want.** “…with a slider for dot size and a switch to
invert” gives you exactly those. Otherwise Fuser picks sensible ones.
* **Keep it to one job.** Chain several tools for a multi-step effect; each
one stays simple to adjust. Ask for several results only when one job makes
separate pieces, such as the views of a turnaround or the cells of a grid.
* **Ask for a Seed or Time slider** when you want variation or motion. A tool
always gives the same result for the same inputs and settings, so
randomness and animation come from a slider you move.
Words the tool uses, such as a caption or a language to translate into,
become a text input you type on the node, not a control.
## When a build doesn't work [#when-a-build-doesnt-work]
Before saving a new Live tool, Fuser tests it in your browser on a sample
image or sample text, at its default settings and at the ends of each slider.
If the test fails, Fuser fixes the tool and tries once more automatically.
If it still fails, the node shows the reason in red and stays as it was.
Change the prompt and generate again.
If the request is something tools can't do, such as generating a new video or
fetching a web page, the node shows a short explanation instead. Your prompt
stays in the box so you can rephrase it.
> [!NOTE] Every build is saved
>
> When a build succeeds, the tool is saved to your
> [Tools library](https://docs.fuser.studio/docs/tools/library.md) automatically. There's no separate save
> step.
## What's Next? [#whats-next]
- [Inputs and controls](https://docs.fuser.studio/docs/tools/inputs-and-controls.md): Wire in media, type text, and adjust the controls Fuser designed.
- [Editing and versions](https://docs.fuser.studio/docs/tools/editing.md): Change a tool by describing what to change.
- [Running tools](https://docs.fuser.studio/docs/tools/running.md): Live updates, Cloud runs, and keeping your results.