# Canvas & Navigation (https://docs.fuser.studio/docs/interface/canvas)
Master Fuser's infinite canvas to efficiently organize and navigate your AI workflows.
## The Infinite Canvas [#the-infinite-canvas]
Fuser's canvas gives you unlimited space to build, experiment, and organize your workflows. Think of it as a boundless whiteboard where you can:
* **Spread out complex workflows** without running out of room
* **Group related nodes** by positioning them together
* **Create multiple workflows** in the same project
* **Scale from simple to advanced** complexity
## Essential Navigation [#essential-navigation]
Here are some essential navigation techniques to get you started:
### Panning (Moving Around) [#panning-moving-around]
* **Mouse/Trackpad**: Click and drag on empty space
* **Mouse Wheel**: Use your mouse wheel to pan vertically, or hold `Shift` while scrolling to pan horizontally.
[Video: canvas-pan.mp4]
### Zooming [#zooming]
* **Mouse**: `⌘/Ctrl`+`Scroll wheel`
* **Trackpad**: `⌘/Ctrl`+`Scroll` or pinch to zoom
* **Keyboard**: The following shortcuts are available for quick zooming:
* `⌘/Ctrl`+`+` to zoom in
* `⌘/Ctrl`+`-` to zoom out
* `⌘/Ctrl`+`0` to fit the canvas to the view
* `⌘/Ctrl`+`1` to fit the selected nodes to the view
[Video: canvas-zoom.mp4]
### Smart Focusing [#smart-focusing]
* **Zoom to node**: Double-click on a node to center and zoom to it. (To open the node in [Focus mode](https://docs.fuser.studio/docs/interface/focus-mode.md), press F instead.)
* **Fit All**: Double-click on empty space to see your entire workflow
* **Fit Selection**: Select multiple nodes and press `⌘/Ctrl`+`1` to fit them in view
[Video: canvas-focus.mp4]
## Selection Techniques [#selection-techniques]
There are two types of selection in Fuser: single selection and multiple selection.
### Single Selection [#single-selection]
* **Click** any node or connection to select it.
* To deselect, click on an **empty space** on the canvas or press `Esc`.
[Video: canvas-select.mp4]
> [!NOTE] What happens when a node is selected?
>
> When a node is selected, it shows a **highlighted border** and a **soft glow**. The **Node Toolbar** appears below the node with the following actions:
>
> * **Zoom to node** — center and zoom the canvas on the node.
> * **Download media** — save the node's current output (only when the node has image / video / audio / mesh output, you can edit, and you're not in a public view).
> * **Enter focus** — open the node in [Focus mode](https://docs.fuser.studio/docs/interface/focus-mode.md).
> * **Add annotation** / **Edit annotation** — attach a text note to the node.
> * **Delete node** — remove the node (touch devices only; on desktop, press Delete).
>
> The **Properties** and **Chat** panels are not part of the Node Toolbar — they live in the right-side overlay (toggled with Shift+P) and on the node itself, respectively. To **execute** a node, use the bottom canvas toolbar or press Cmd/Ctrl+Enter.
### Multiple Selection [#multiple-selection]
* **Box Selection**: Hold `Shift`+`Click and drag` to select multiple nodes by drawing a box around them.
* **Add to Selection**: `⌘/Ctrl`+`Click` to add/remove nodes and connections from selection
* **Select All**: `⌘/Ctrl`+`A` to select all nodes
[Video: canvas-multi-select.mp4]
## Canvas Controls [#canvas-controls]
In addition to using the mouse and keyboard to navigate the canvas, you can also use the following controls:
### Viewport Controls [#viewport-controls]
Located in the top-right corner of the canvas:
* **Zoom In/Out**: Manual zoom controls
* **Fit to Screen**: Reset viewport to show all content
* **Zoom Percentage**: Current zoom level indicator
### Mini-Map [#mini-map]
A small overview showing:
* Your entire workflow layout
* Current viewport position
* Quick navigation by clicking, zooming, and dragging
[Video: canvas-controls.mp4]
## Performance Tips [#performance-tips]
We highly recommend to break down large workflows into **separate smaller projects** to get the best out of Fuser. However we also understand that you might want to keep your workflow in one place. In that case, you can use the following tips to keep your workflow organized:
> [!NOTE] Use Zoom Levels
>
> Zoom out for big picture organization, zoom in for detailed editing, and work at comfortable zoom levels (50-200%).
> [!NOTE] Strategic Placement
>
> Keep frequently used nodes in the center, place utility nodes at the edges, and group completed workflows away from active work.
> [!NOTE] Memory Management
>
> Fuser handles performance optimization automatically, large canvases maintain smooth interaction, and nodes outside the viewport use minimal resources.
## Shortcuts Reference [#shortcuts-reference]
Here is a comprehensive list of shortcuts that you can use to navigate the canvas:
### Navigation [#navigation]
* `⌘/Ctrl`+`Mouse wheel`: Zoom in and out
* `⌘/Ctrl`+`+` Zoom in
* `⌘/Ctrl`+`-` Zoom out
* `⌘/Ctrl`+`0` Fit the canvas to the view
* `⌘/Ctrl`+`1` Fit the selected nodes to the view
* `Double-click` **on empty space**: Fit all content
* `Double-click` **on node**: Zoom to the node (use `F` to open it in [Focus mode](https://docs.fuser.studio/docs/interface/focus-mode.md))
### Panels & overlays [#panels--overlays]
* `⌘/Ctrl`+`K` or `Shift`+`A`: Toggle the **Nodes** panel (both shortcuts open the same panel)
* `Shift`+`P`: Toggle the **Properties** overlay
* `F`: Open the selected node in Focus mode
### Selection [#selection]
* `Shift`+`Click and drag`: Box selection
* `⌘/Ctrl`+`Click`: Add/remove from selection
* `⌘/Ctrl`+`A`: Select all nodes
* `Esc`: Clear selection
### Canvas Operations [#canvas-operations]
* `⌘/Ctrl`+`C`: Copy selected nodes
* `⌘/Ctrl`+`V`: Paste nodes
* `⌘/Ctrl`+`Enter`: Execute the focused node
* `Delete` or `Backspace`: Delete selected nodes or selected connections
* `⌘/Ctrl`+`Z`: Undo last action
* `⌘/Ctrl`+`Shift`+`Z`: Redo last action
## Best Practices [#best-practices]
Organize your workflow spatially to improve clarity and maintainability. Here are the key principles for effective workflow organization:
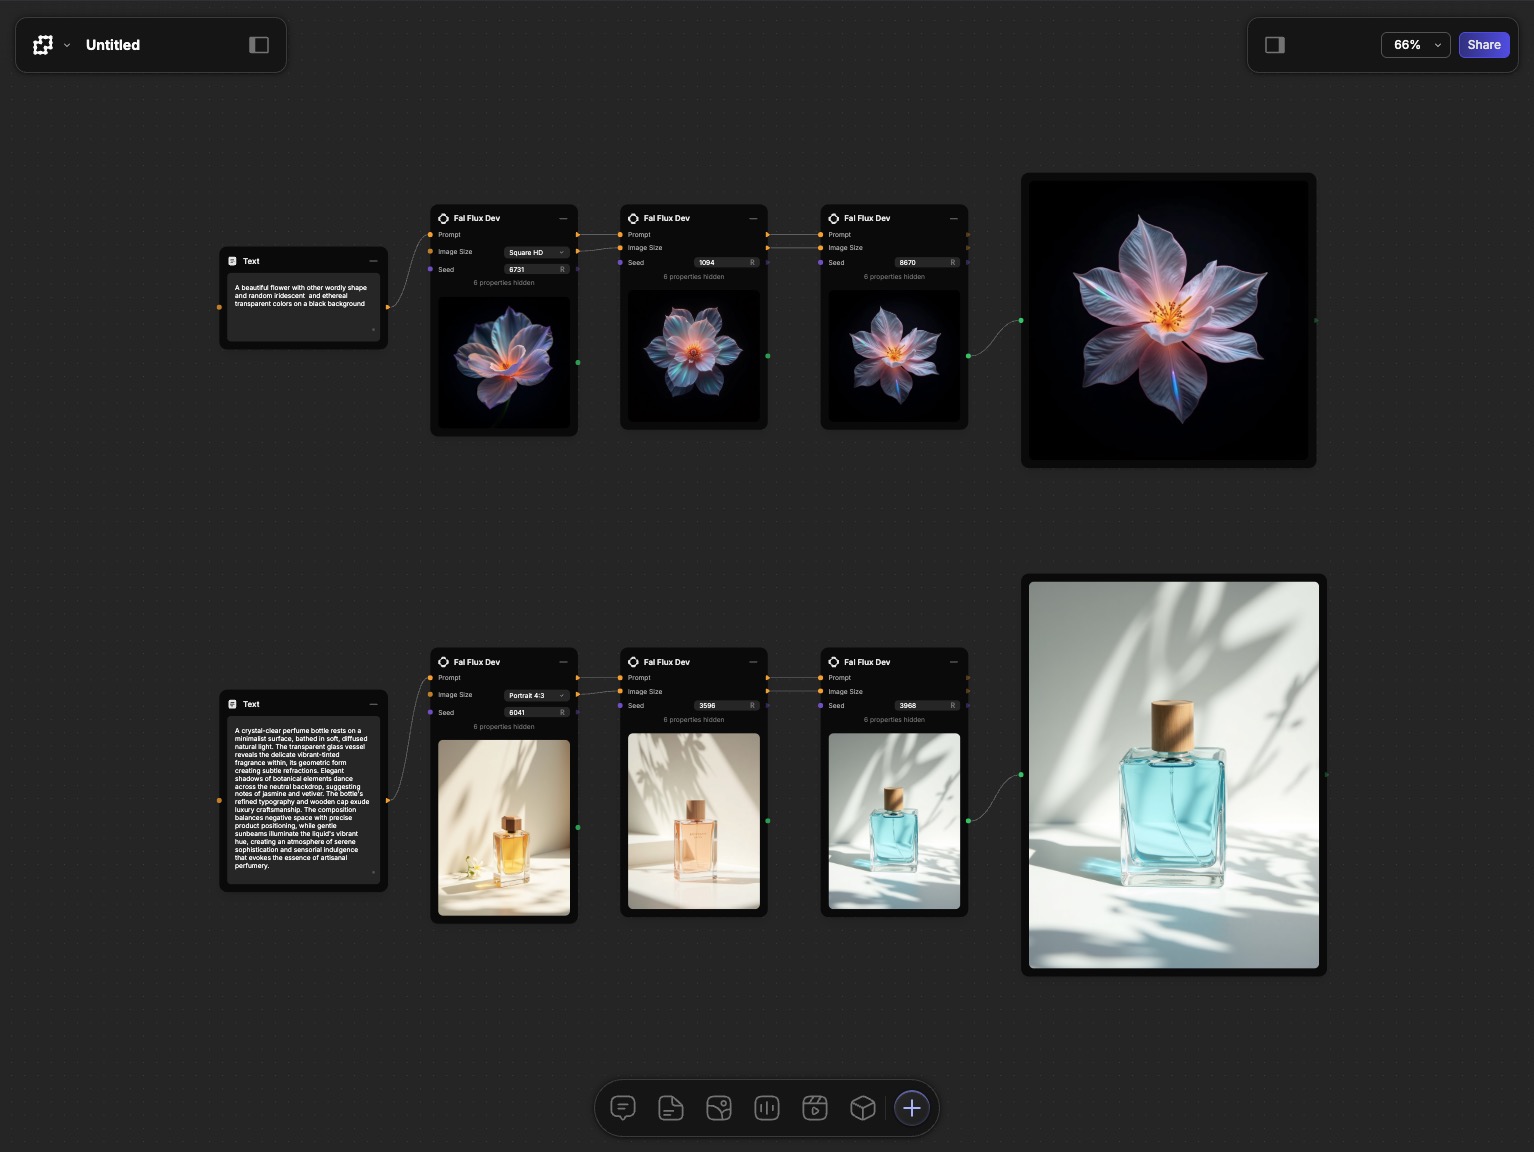
* **Flow Direction**: Place inputs on the left, processing in the middle, outputs on the right. Keep data moving consistently left-to-right, and **start with a simple linear flow** and expand naturally.
* **Grouping & Organization**: Stack related nodes vertically for clear functional clusters. Keep related nodes close together and group similar operations by function to separate concerns.
* **Visual Structure**: Use consistent spacing and grid alignment. Line up similar nodes vertically or horizontally, and resize nodes to emphasize **visual hierarchy**. Use white space effectively - don't crowd nodes together.
* **Complex Projects**: Divide canvas into logical areas, use text nodes to label complex areas, leave room for expansion, and document workflow sections with text nodes.
## What's Next? [#whats-next]
Now that you can navigate efficiently:
1. **[Understanding Nodes](https://docs.fuser.studio/docs/interface/nodes.md)** - Master the building blocks
2. **[Sockets & Connections](https://docs.fuser.studio/docs/interface/sockets.md)** - Learn advanced connection techniques
3. **[Interface Guide](https://docs.fuser.studio/docs/interface/interface.md)** - Explore panels and controls
4. **[Building Flows](https://docs.fuser.studio/docs/interface/flows.md)** - Create complex workflows